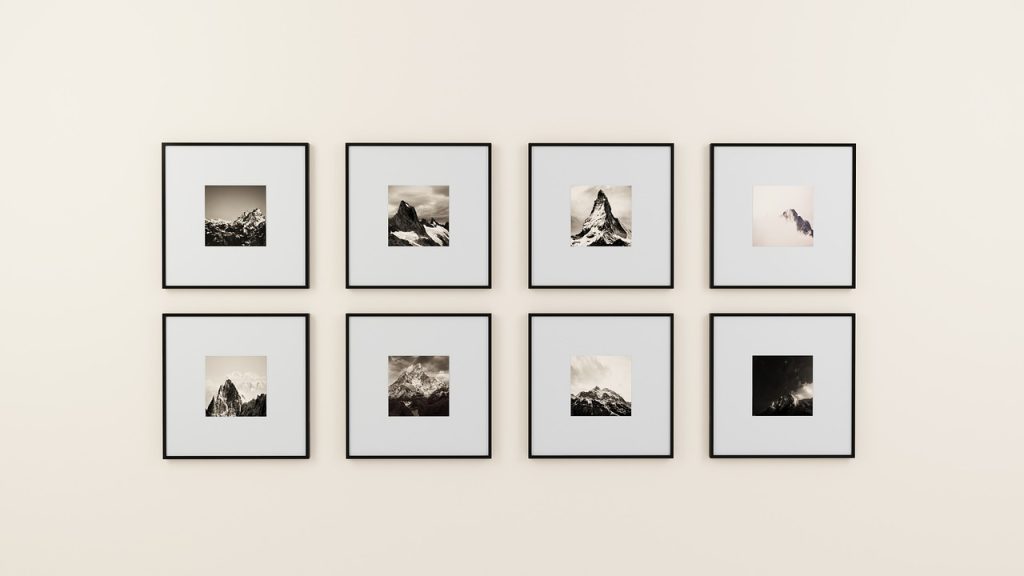
Gallery walls are a fantastic way to showcase your personality, interests, and memories while adding visual interest to any room. Whether you’re a seasoned decorator or a DIY novice, creating a gallery wall is a fun and rewarding project that allows you to express your creativity. In this step-by-step guide, we’ll walk you through the process of designing and assembling your own gallery wall, from planning to hanging.
Select a wall in your home that will serve as the backdrop for your gallery. Consider walls in living rooms, hallways, staircases, or bedrooms that have enough space and visibility to accommodate your artwork or photos. Take into account factors like lighting, furniture placement, and wall color when choosing the perfect spot.
Collect the artwork, photographs, prints, and other items you want to include in your gallery wall. This could include framed artwork, canvas prints, photographs, posters, mirrors, or decorative objects. Choose pieces that complement each other in terms of style, color scheme, and theme, but don’t be afraid to mix and match for an eclectic look.
Before hanging anything on the wall, lay out your gallery arrangement on the floor to experiment with different configurations. Play around with the placement of each piece, keeping in mind factors like spacing, balance, and symmetry. You can use paper templates or painter’s tape to mark the outlines of each frame on the wall to visualize the layout.
Decide on the method you’ll use to hang your artwork. Options include nails, picture hangers, adhesive hooks, or specialized gallery wall hanging systems. Make sure you have the necessary tools and hardware on hand to securely hang each piece, taking into account the weight and size of each frame.
Once you’ve finalized your layout and chosen your hanging method, it’s time to start hanging your artwork. Begin with the central piece or focal point of your gallery and work outward, using your floor layout as a guide. Use a level to ensure each piece is hung straight and evenly spaced, adjusting as needed.
As you hang each piece, step back periodically to assess the overall balance and composition of your gallery wall. Fill in any gaps or empty spaces with smaller pieces, decorative objects, or additional artwork to create a cohesive look. Don’t be afraid to rearrange or swap out pieces until you achieve the perfect arrangement.
Once all your artwork is hung, take a moment to admire your handiwork and make any final adjustments. Straighten frames, adjust spacing, and make sure everything is securely fastened to the wall. Consider adding additional decorative elements like wall sconces, shelves, or plants to enhance the visual impact of your gallery wall.
Step back and enjoy the beauty of your newly created gallery wall, knowing that you’ve transformed your space into a personalized showcase of art and memories. Take pride in your DIY accomplishment and revel in the joy of surrounding yourself with meaningful artwork and photographs every day.
Creating a gallery wall is a fun and creative way to infuse your home with personality and style. By following these step-by-step instructions and letting your creativity flow, you can design a stunning gallery wall that reflects your unique taste and inspires admiration from all who see it. So gather your artwork, roll up your sleeves, and get ready to turn your blank wall into a captivating display of visual artistry!
Leave a comment