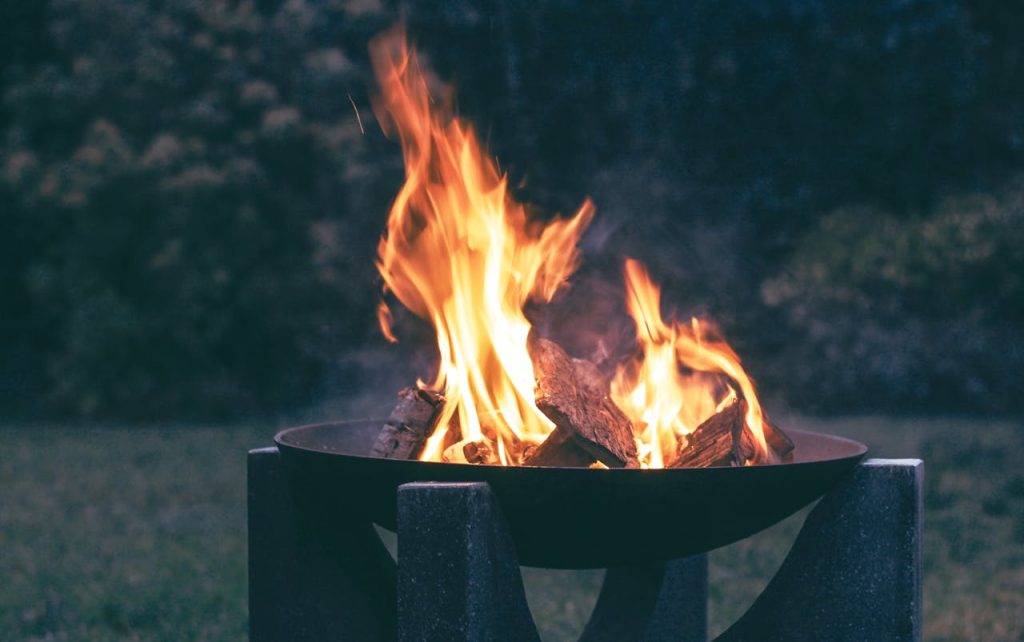
A fire pit is a timeless addition to any outdoor space, providing warmth, ambiance, and a focal point for gatherings with family and friends. Whether you’re roasting marshmallows, enjoying a cozy evening under the stars, or simply relaxing in your backyard oasis, a DIY fire pit is the perfect project to upgrade your outdoor living experience. In this comprehensive guide, we’ll walk you through the step-by-step process of building a fire pit, along with best practices and recommendations to ensure safety, functionality, and style.
Start by selecting a suitable location for your fire pit. Choose a level, well-drained area away from structures, trees, and overhanging branches. Check local building codes and regulations to ensure compliance with setback requirements and fire safety regulations.
Decide on the size and design of your fire pit based on your available space, budget, and personal preferences. Common options include:
Before you begin, gather all the necessary materials and tools for building your fire pit:
Clear the area where you’ll be building your fire pit of any grass, weeds, or debris. Use a shovel to dig a shallow trench or circle for the base of the fire pit, ensuring it’s level and evenly shaped. Add a layer of paver base or gravel to the bottom of the trench to improve drainage and stability.
If using a fire pit kit, follow the manufacturer’s instructions to assemble the base of the fire pit using the pre-cut stones or bricks. If building a custom fire pit, arrange fireproof bricks or stones in a circular or square pattern to create the base of the fire pit, ensuring they’re level and tightly packed together.
Once the base is in place, add a fire ring or insert to contain the flames and protect the surrounding materials from heat damage. Fire rings are typically made of metal and come in various sizes to fit different fire pit designs. Place the fire ring inside the base of the fire pit, ensuring it’s centered and level.
Fill the bottom of the fire pit with a layer of sand to provide a level surface for the fire and help distribute heat evenly. Use a tamper to compact the sand and create a firm, stable base for the fire pit.
Finish the top edge of the fire pit with additional fireproof bricks or stones to create a decorative border and enhance the overall appearance of the fire pit. Use a rubber mallet to tap the bricks or stones into place, ensuring they’re level and securely positioned.
Before lighting a fire, test the functionality of your fire pit by adding a small amount of kindling and lighting it with a match or lighter. Monitor the flames and ensure they burn evenly and safely within the fire ring, adjusting the arrangement of logs or stones as needed.
Once your fire pit is complete and tested, it’s time to sit back, relax, and enjoy the warmth and ambiance of your outdoor oasis. Gather around the fire with family and friends, roast marshmallows, and make memories that will last a lifetime.
Building a fire pit is a fun and rewarding DIY project that can enhance your outdoor living space and create a cozy gathering spot for family and friends. By following these step-by-step instructions and incorporating best practices and recommendations, you can build a safe, functional, and stylish fire pit that provides warmth, ambiance, and endless enjoyment for years to come. So gather your materials, roll up your sleeves, and get ready to gather ’round the fire pit for unforgettable moments under the stars!
Leave a comment